The first step to getting started with the Bike Shop Email Marketing feature in your BikeRoar dashboard is to create and set up a subscriber list.
A subscriber list is simply a list of email subscribers that you can then send your email newsletters to. In many cases it is sufficient to have just one subscriber list. Or, if you wish to separate your subscribers by interest (e.g. Road and MTB) or by store (if you multiple stores) then you can easily create multiple subscriber lists.
Read through the detailed instructions below about how to create and set up a new list, or click the link below to open the Subscriber Lists page of your BikeRoar dashboard and get started!
How to get to the Subscriber Lists page
How to get to Subscriber Lists
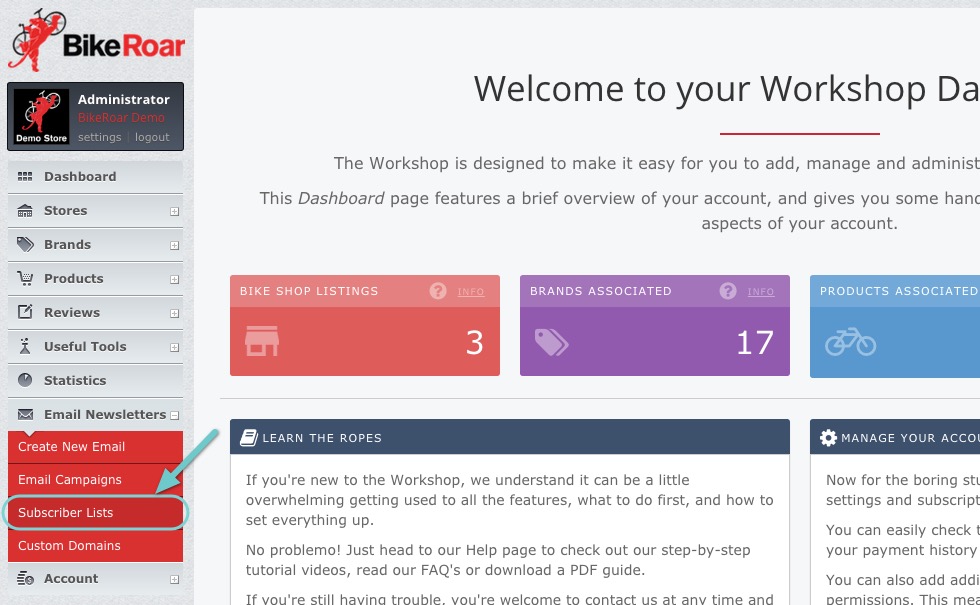
In your BikeRoar Workshop, click on “Email Newsletters” and then “Subscriber Lists” in the navigation menu (or just click here).
Create a New Subscriber List
-
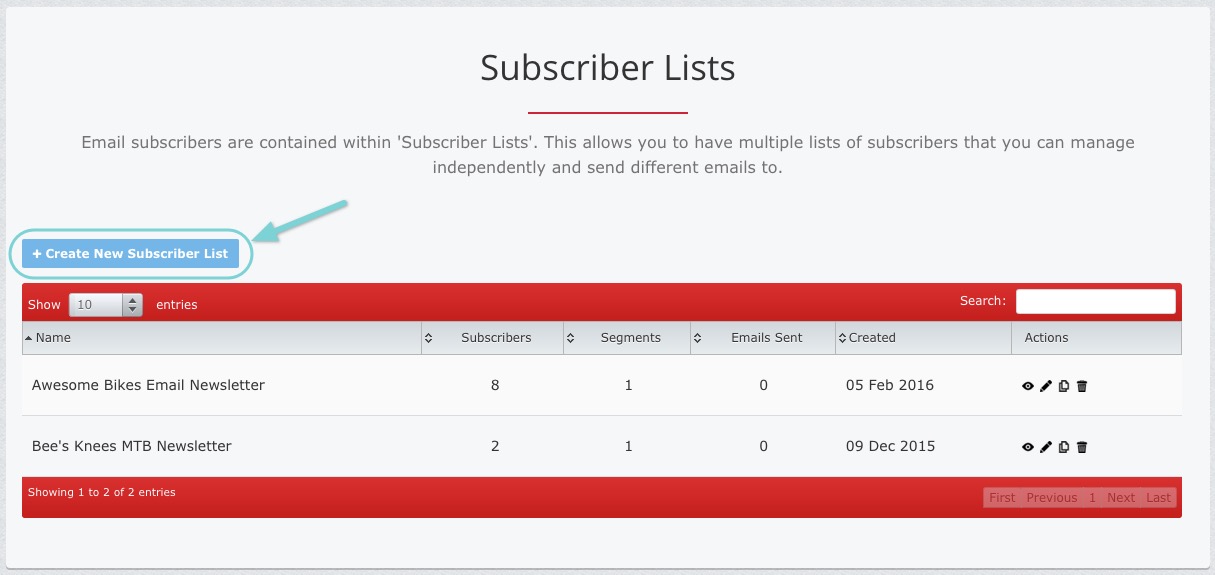
Create new subscriber list
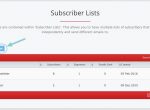
From the Subscriber Lists page, first click on the blue “Create New Subscriber List” button. You’ll then be taken to a page to edit all the required details for the new list.
-
‘List defaults’ section
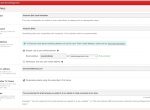
LIST SETTINGS
The first step is to pick a good name for your list. This name may sometimes be visible to your subscribers (e.g. on subscribe/unsubscribe pages and subscription confirmation emails) so please ensure that it is a name that you are happy for them to see, e.g. “Bike Shop Email Newsletter”.
Now you need to enter the “From” name for your emails.This is what your subscribers will see as the sender name when you send them emails, so it’s important to make it something they’ll recognize, such as your business name, or even a staff name combined with the business name (e.g. Dave – Awesome Bikes).
Next, you need to enter the “From” email address. This is an important step, and is key to ensure good email deliverability and prevent your emails being blocked as SPAM. There are 2 key options:
- Use a pre-verified domain (recommended for beginners)
To help make this process quicker and easier, we’ve got a selection of pre-verified domains that you can use! You just need to select a mailbox name, and pick one of the domains (e.g. awesomebikes@bikeshopmail.com). As long as someone else isn’t already using that combination you’ll be good to go! - Use your own email address
This is recommended for advanced users only, as it it more complicated and time-consuming to configure correctly. It also requires you to have access to the DNS settings for your domain.
Once you’ve picked one of those 2 “From” address options, make sure you enter in your own shop email address as the “Reply-to” address. This will ensure that any replies that your subscribers try to send to your email will get directed to your email address correctly.
Next, you have an option to personalize the “To” name for your emails. This means that if your subscriber details include a first name, subscribers using certain email programs will see that the email was sent to their name instead of just their email address. This can help to improve open rates, and enabling this feature is definitely recommended in most cases.
Lastly for this section, you can customize the text shown to the subscriber to remind them how they were subscribed to your email list in the first place. This is required for CAN-SPAM compliance, and will be shown in fine print at the bottom of your email newsletters.
- Use a pre-verified domain (recommended for beginners)
-
‘Contact Information’ section
CONTACT INFORMATION
A full contact address is required to comply with CAN-SPAM regulations. By default, we’ll include the address for your first bike shop listing as the contact information for the subscriber list, but if necessary, please edit it to make sure that it is correct.The address will be shown in fine print at the bottom of your email newsletters.
-
‘Branding’ section
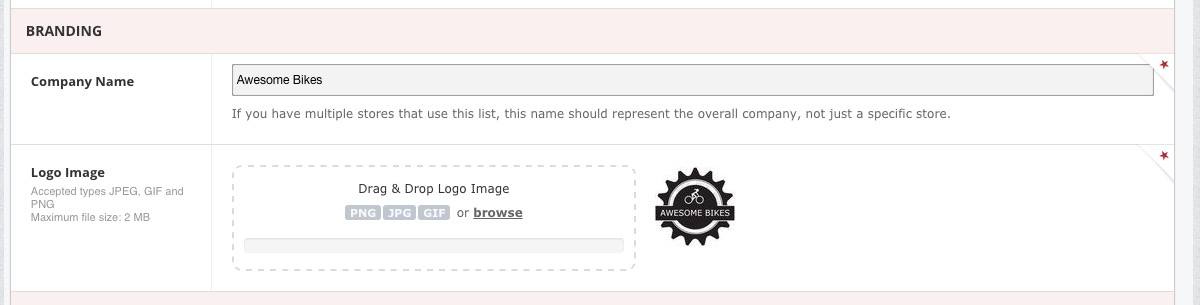
BRANDING
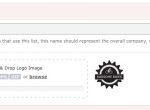
In this section you need to enter your company name and upload your logo. These are used as default values for branding in your email newsletters.
When you first create your list, we use the name and logo from your first BikeRoar store listing as initial values, but you can update them here if necessary.
To upload a logo, either click on the ‘browse’ link to upload your logo file from your computer, or simply drag and drop your logo file on to the box with the dotted outline. Note that the logo image must be either PNG, JPG or GIF format, with a maximum file size of 2MB.
-
‘Links & Social Media’ section
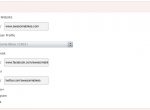
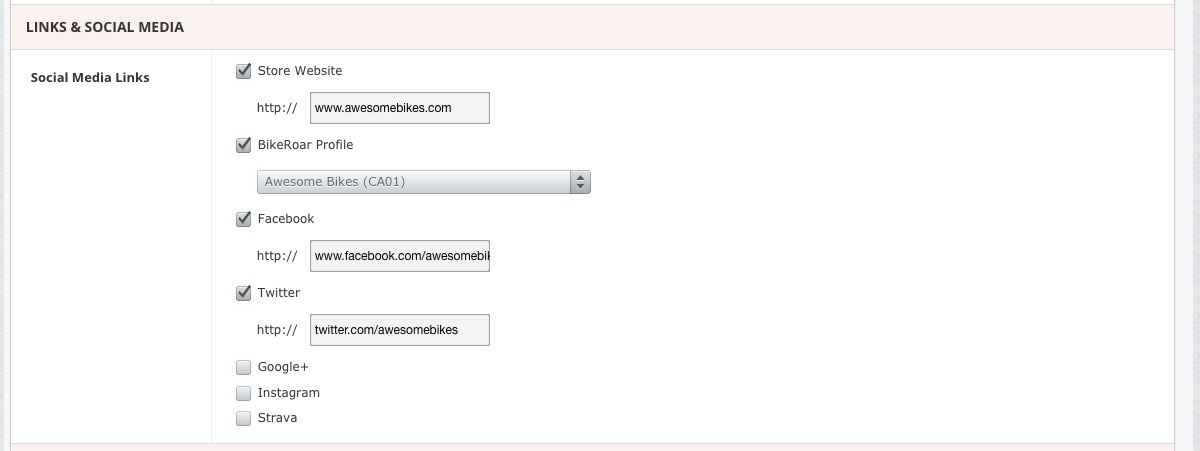
LINKS & SOCIAL MEDIA
This section allows to to configure links to your website and social media channels. Once they are configured here, they will be used whenever you choose to include social media links in your email templates. We recommend adding your store website and BikeRoar profile as a minimum, but adding all your social profiles as well is highly recommended.
-
‘Scheduling’ section
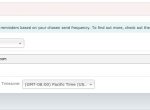
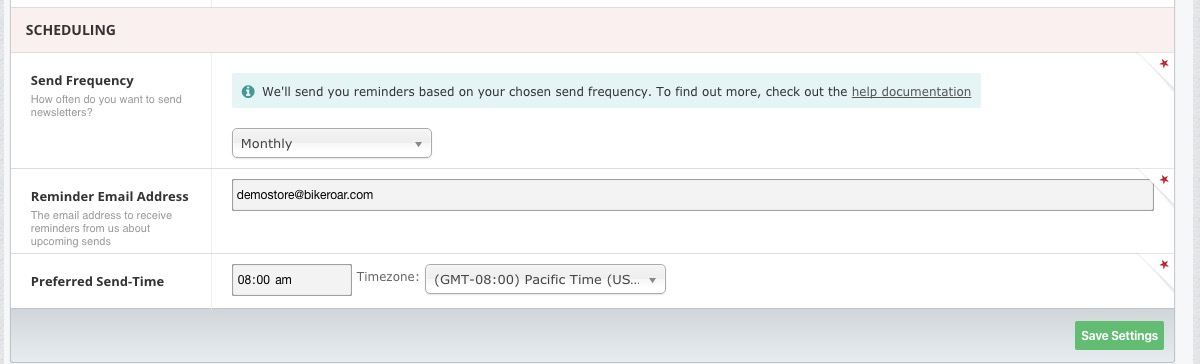
SCHEDULING
In the scheduling section you need to define your preferred send frequency, and your default email send time.
After you send your first email to this list, we will send you a reminder (to the email you provide for “Reminder Email Address”) to remind you to start working on your next email. If you choose a frequency of “Monthly”, this reminder email will be send a couple of days less than one month after the previous email was sent.
The send time and timezone you enter here will be used as the default send time for all emails to this list. You will also be able to override this for each email you send if you wish.
-
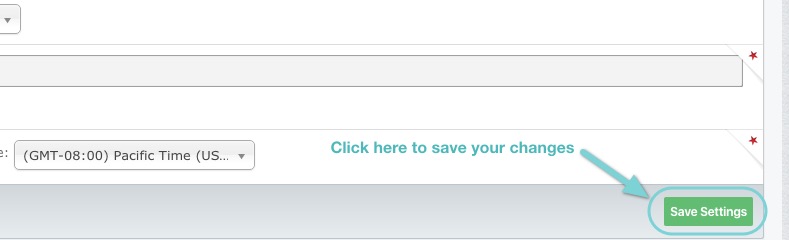
Save your settings
Once you’re done, just click the Save Settings button to save your changes!


Edit an existing Subscriber List
-
How to get to Subscriber Lists
In your BikeRoar Workshop, click on “Email Newsletters” and then “Subscriber Lists” in the navigation menu (or just click here).
-
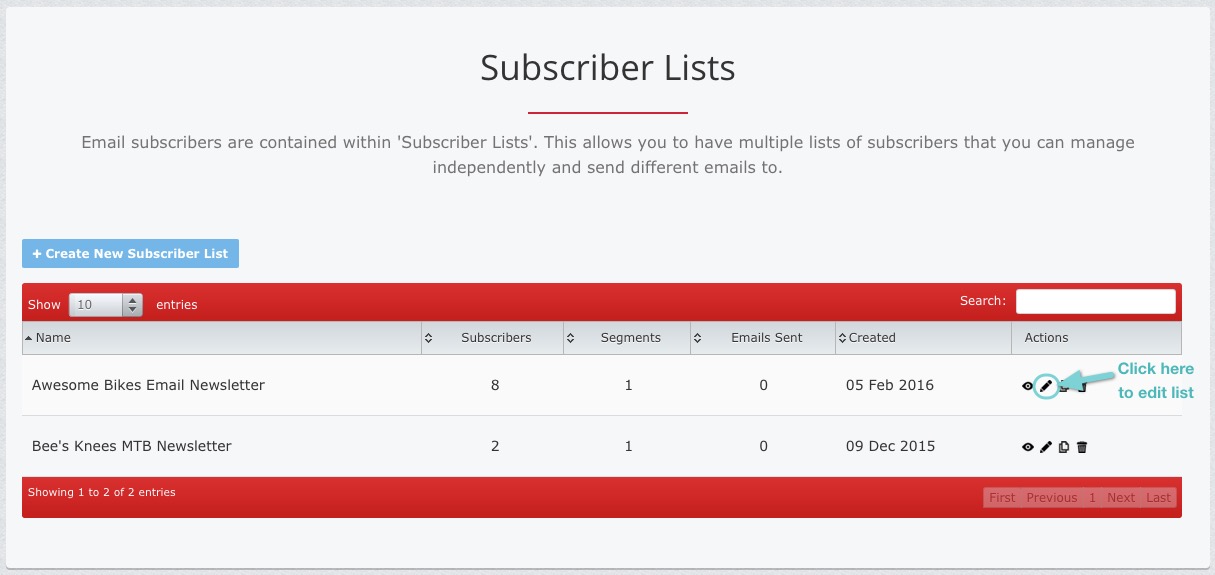
Edit subscriber list
Click on the “Edit” link for the subscriber list that you wish to edit.
-
Save your changes
Then, edit the details you wish to change and then click “Save Settings” to apply your changes.
So what happens next?
Next comes the really important step…adding subscribers to your new list! Click here to find out how.